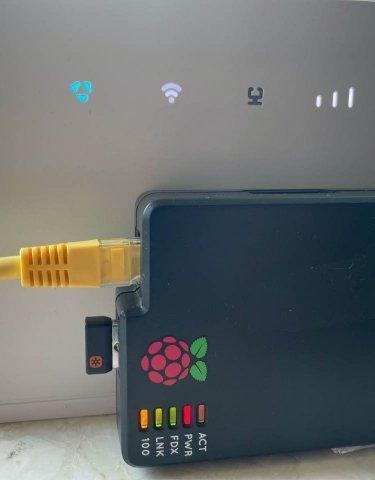
For those who didn't read my post with setting up Pi-hole on Raspberry Pi from start to finish, I invite you to my post - Pi-hole, or how to protect your home network against phishing. Here I will only quote the fragment that refers to the WiFi router itself, in which we must enter the address of our DNS server so that all devices in the house can use Pi-hole.
This will interest you The best anime available on Netflix. Japanese animations worth getting to know! How to watch Marvel movies? The order is crucialFinally, the only thing left to do is to secure our household members and other devices on the network. We can enter the address of our DNS server directly in the administration panel of our router. I couldn't find such an option at home, so I started the DHCP server in the Pi-Hole panel. However, remember to disable it in the router beforehand.
The solution to this problem by enabling the DHCP server in the Pi-hole settings is effective and works very well, although it causes many problems in the event of a temporary power outage.

After restarting the WiFi router and Raspberry Pi, the router loses its connection to the Internet, it is not possible to connect to it and change the configuration and re-enable the DHCP server in it. The fastest option then to restore the network connection is to reset the router to factory settings.
After the reset, the WiFi router, unfortunately, begins to redistribute IP addresses again, and with consecutive numbering, and as you know, the DNS server on Pi-hole has a permanently assigned IP address and an attempt to connect to it via the router disconnects the network again. Then you have to manually restore the previous numbering in the router settings, for example from the new 192.168.9 ... to the previous 192.168.8 ... and assign the old IP address to our Raspberry Pi.
Read on belowAs you can see, there is no option to set your own DNS server, but as it turns out, some manufacturers intentionally block this option from being displayed in the administration panel of the WiFi router.
To unlock it, just go to these router's DHCP settings and run developer tools in your browser and find three parameters. The first is: dhcp_dns. Here in the style filters section, uncheck display: none;.
We do the same with the other two checkboxes - primary_dns_server and secondary_dns_server (it is best to enter only primary and secondary in the search engine, because the entries are different depending on the router model). After all, we enter our own DNS server and some auxiliary one, save and restart all devices connected to the WiFi router. In the future, when you want to rediscover these settings in the administration panel, all you need to do is uncheck the dhcp_dns checkbox. Other parameters, due to the fact that they are already filled in, will be displayed immediately.


